When Trees Turn to Ice
The Making of When Trees Turn to Ice: Part 2
Welcome back! You may want to strap in a little for this part of the retrospective, because we are about to tackle sprites, and things get a tiny bit wild. That's right, we are going to get unneccessarily extra with the character sprites for this 40 minute Game Jam title! Take a look.
Sprites
As is custom, everything starts with a plan. Before I even start drawing the characters, I go through the script and write lists of each one's “expressive range”. What kinds of faces will they need to be able to do? Which direction will they face, and what viewing directions for the eyes do I need? What are their outfits? Should they have different poses? What hand gestures should I give them?
After this, I'm confident enough to begin the size chart. I want these guys to look good next to each other, after all, like they belong in the same space! In this case, Atlas is the tallest, Nord is a fair bit shorter, and Hulda is a smol old lady.
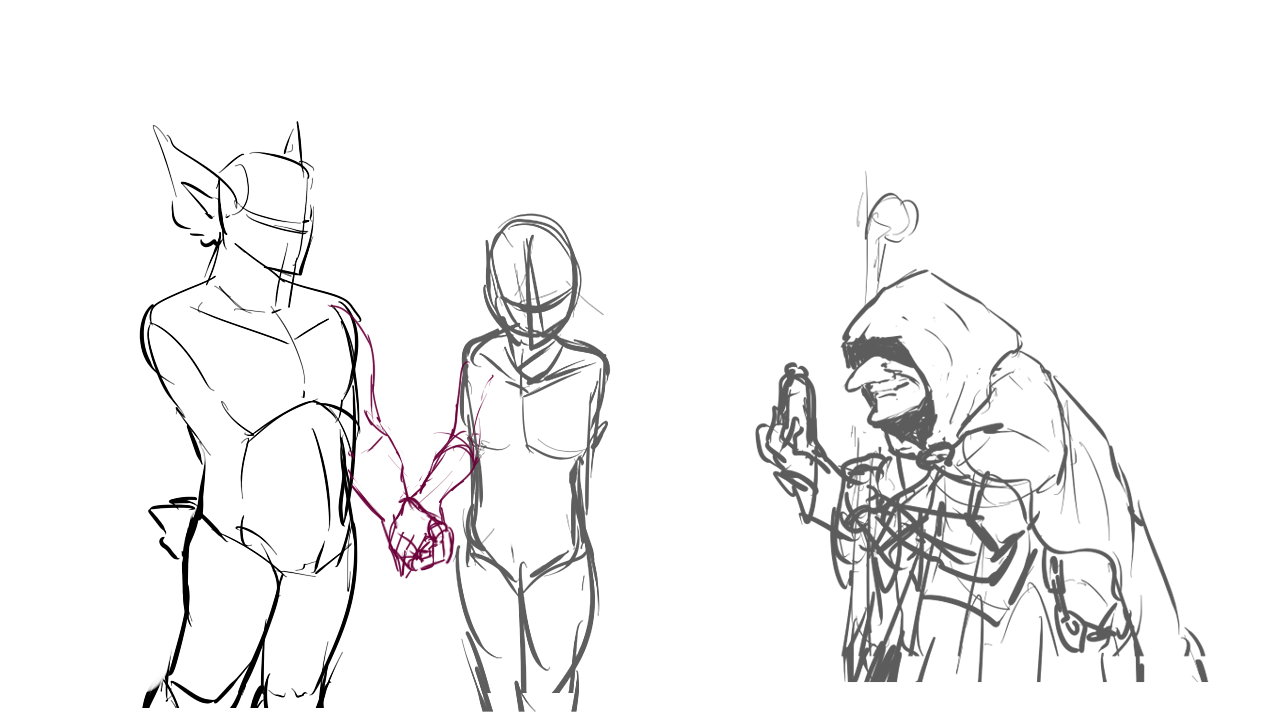
One cleaner pass of sketching, as per usual...
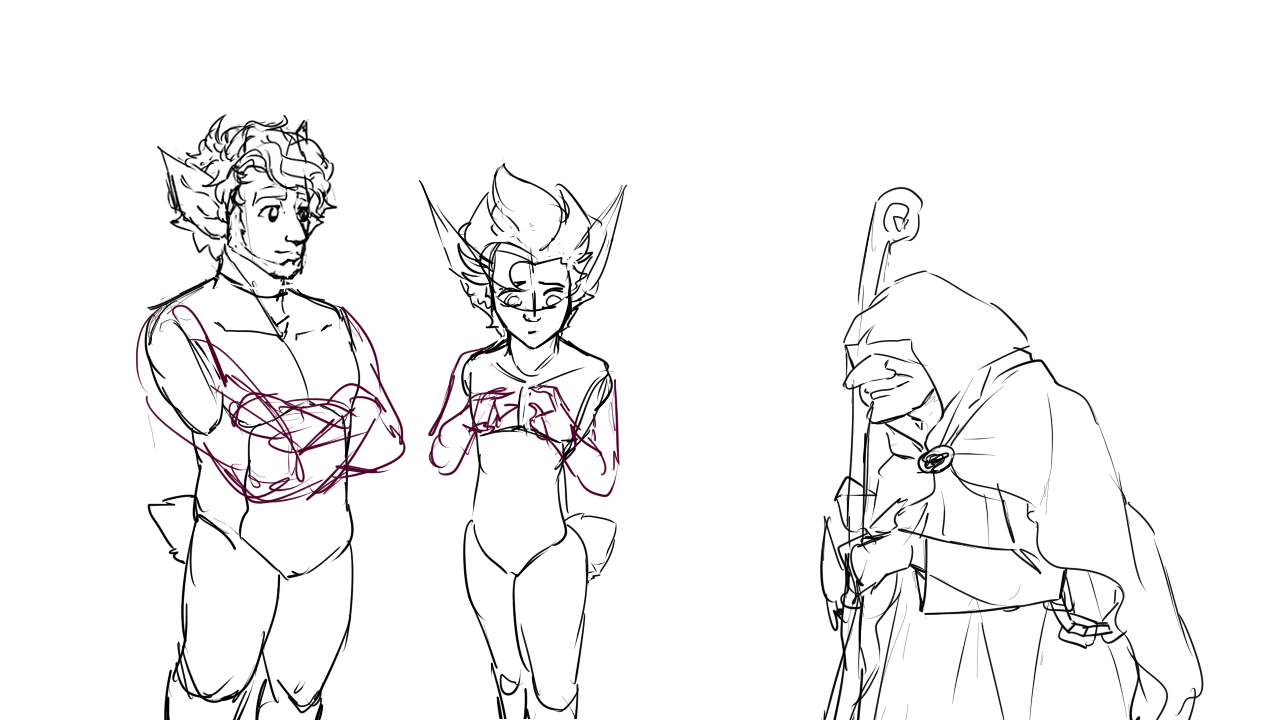
And after this stage, when I've drawn out the different poses in a way that feels correct, I take it into seperate files for each character. Some tips for sprite art:
- Always keep a little bit of buffer space in the bottom. It's easier to crop the bottom of the sprite later than to extend it in case you need more.
- Keep track of the line-width, shadow tones and what-have-you so that you can keep them consistent for all sprites.
- Keep the colour key of the background in mind when deciding on colours and shading tones. Do they feel like they could be part of this environment?
- Prepare to see a lot of wonky layer combinations, like when you save a PSD with all the arm gestures of a character visible. You get used to it.
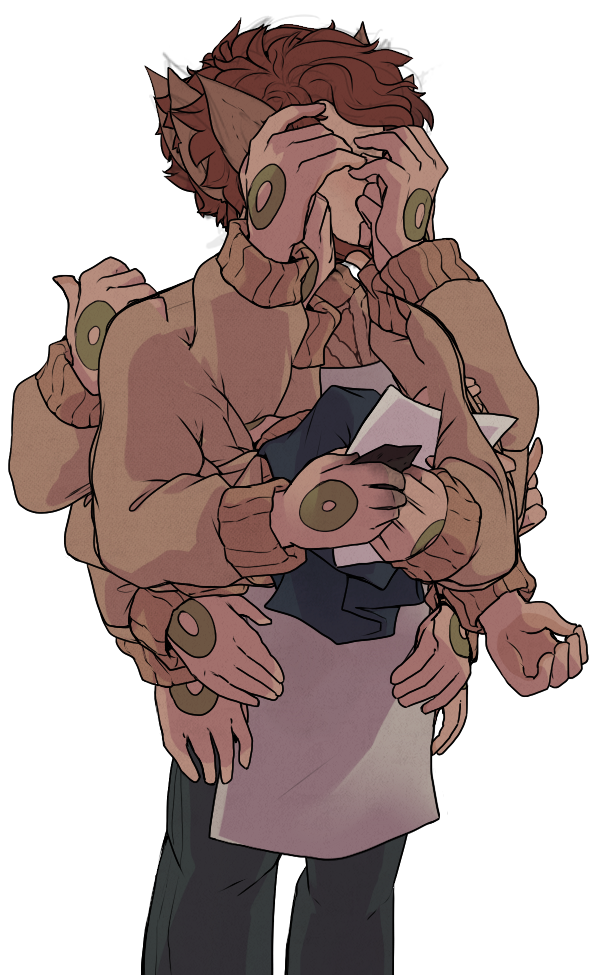
Biblically accurate Atlas.
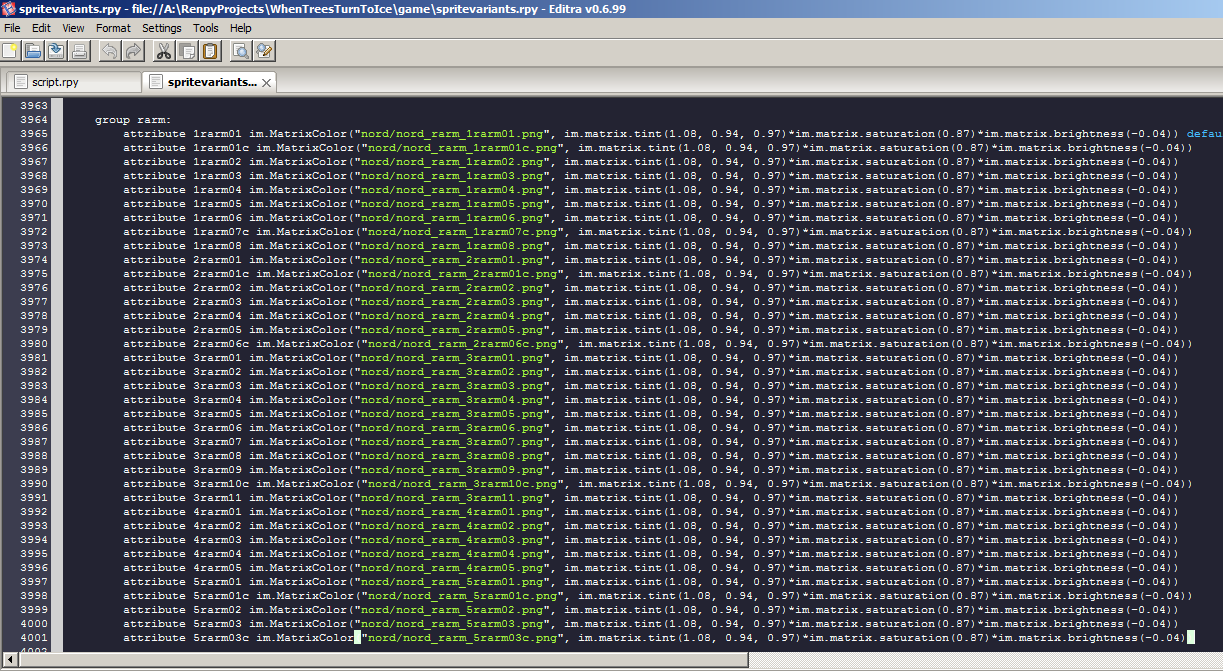
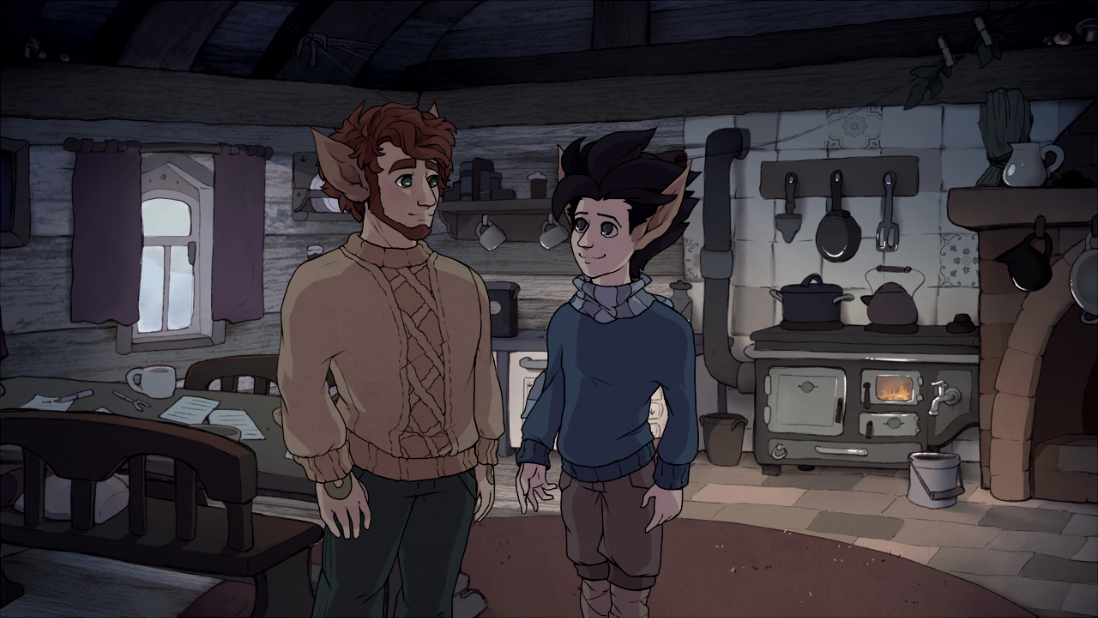
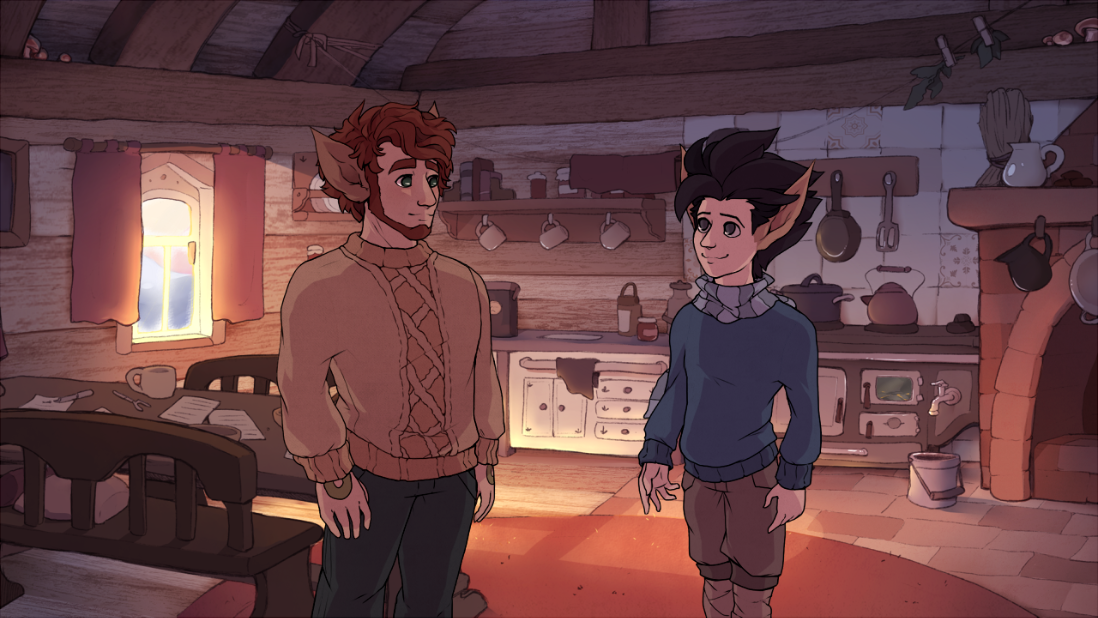
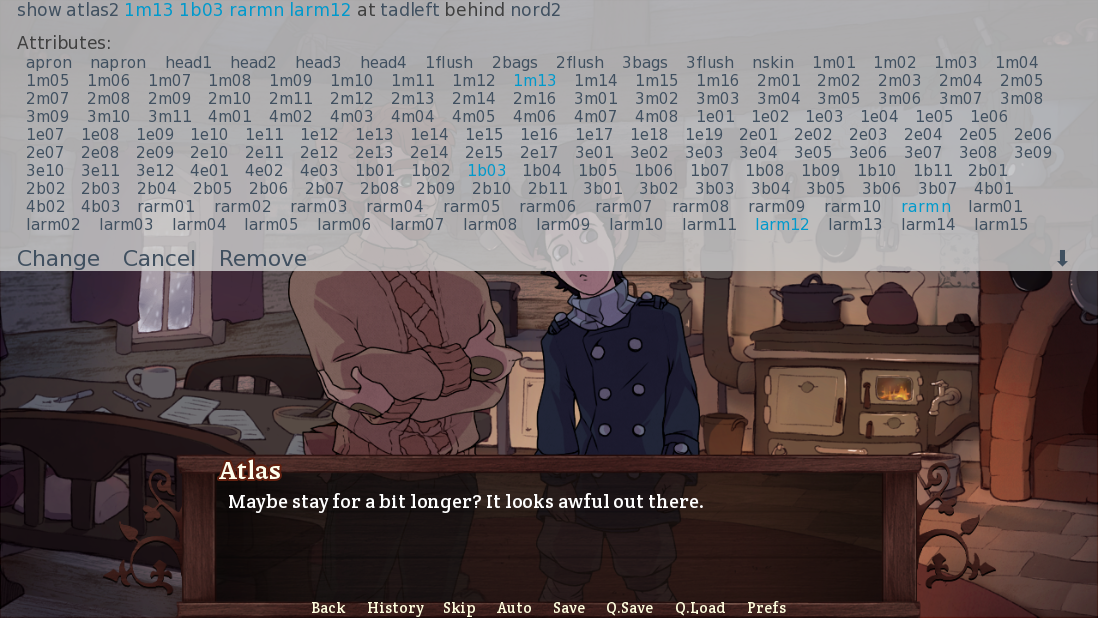
But I can hear you say “Dev, how about all those differently lit backgrounds we made in Part 1? How can we even make the sprites look in sync with all of those?” - That's where Renpy's tinted image functions come to the rescue! We can just procedurally change the tint, brightness and contrast of the sprites for each scene, so there's no need to tediously export actual recoloured image files and bloat our game folder with them.
You can either do this by using the convenient tinting functions that exist in Renpy 7.4 upwards, or you can be a stubborn maniac like me and insist on using Renpy 7.3.5 because it runs on older machines, which means you have to spend a whole day adding 4000 lines of extra code in which you establish layered images for each scene and individually apply the tint to every attribute. You gotta pick your fights. I picked this one, and I have no regrets.
This is fine.
This results are nicely adapted tinted sprites like these!
The only reason why it took so many lines to do this is because my sprites have a lot of attributes – Meaning a lot of poses, hands, eyes, mouths etc.
That's where the “Time to get incredibly extra” part comes in. 'Cause you know what I really like? Sprite mechanics that fit the character's acting. Here are some examples.
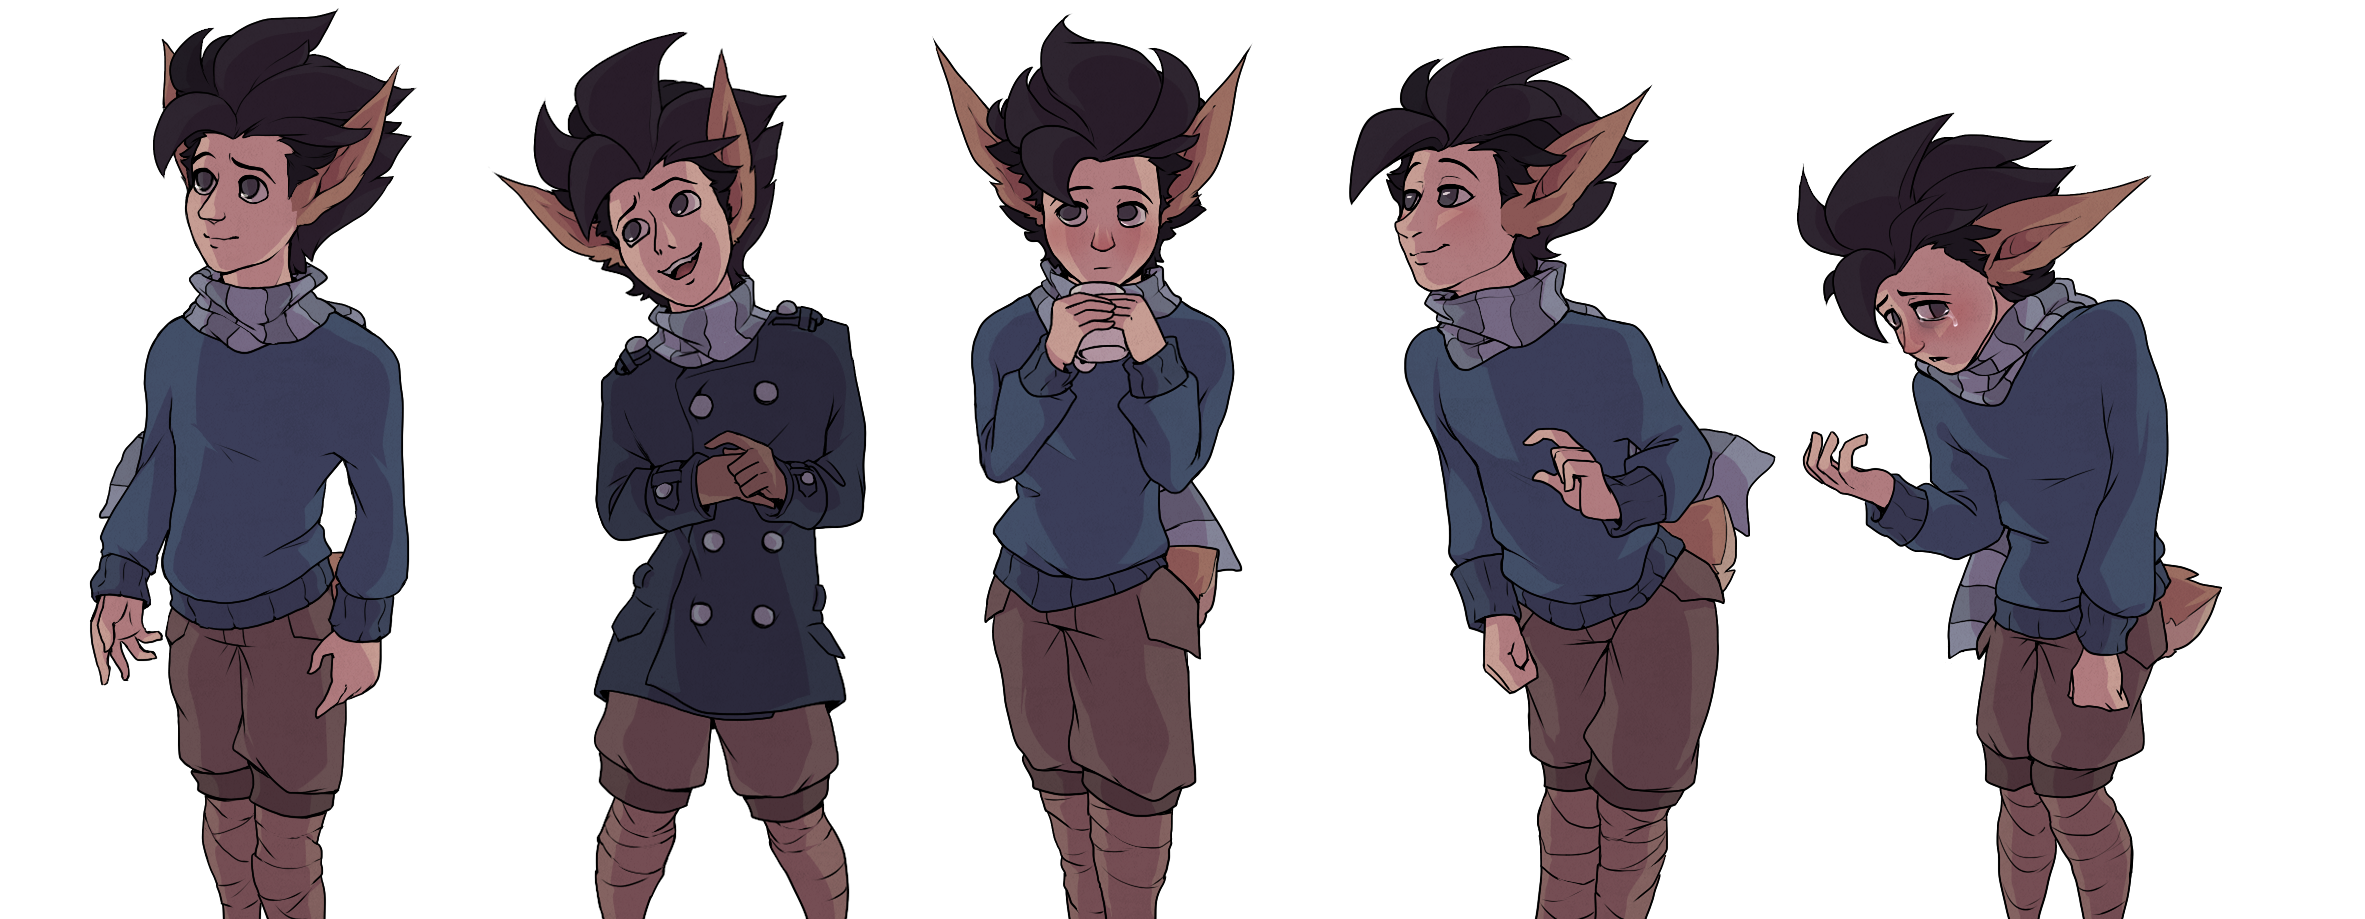
Nord is a bouncy, expressive little guy. He's agile, and he can't help but wear his emotions on his sleeve, so his body language is very active. To fit this, I gave him multiple poses to really portray those different feelings in the gesture line of the spine, from upright and happy to bent-over and depressed.
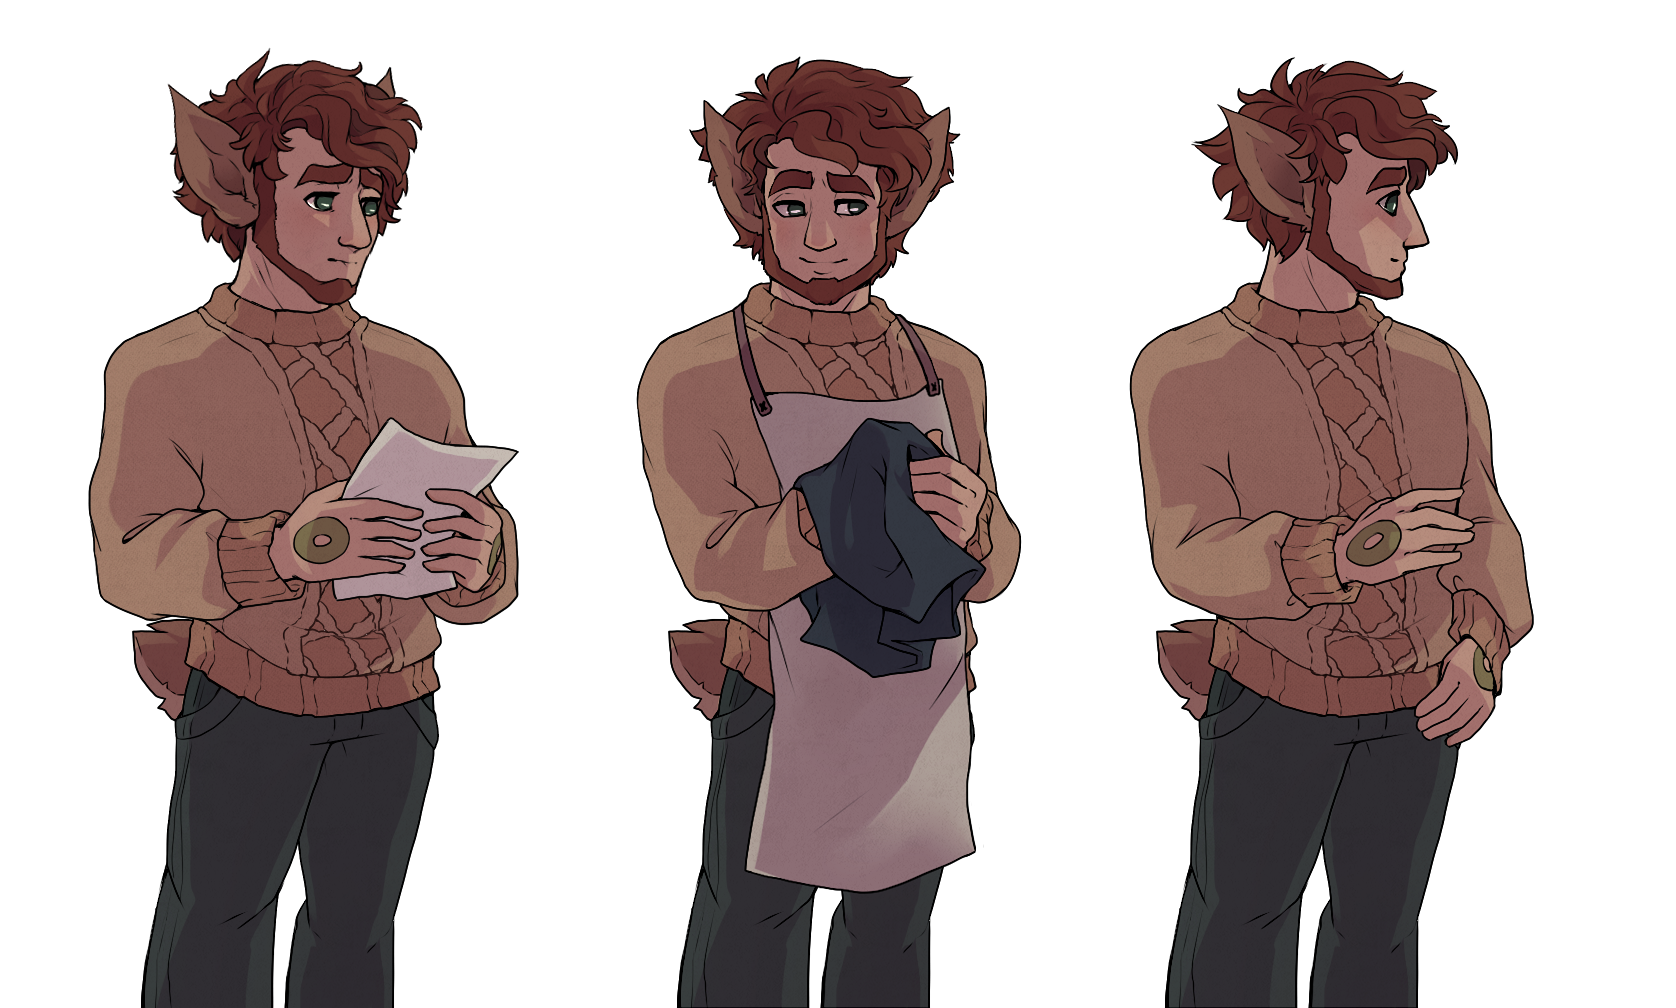
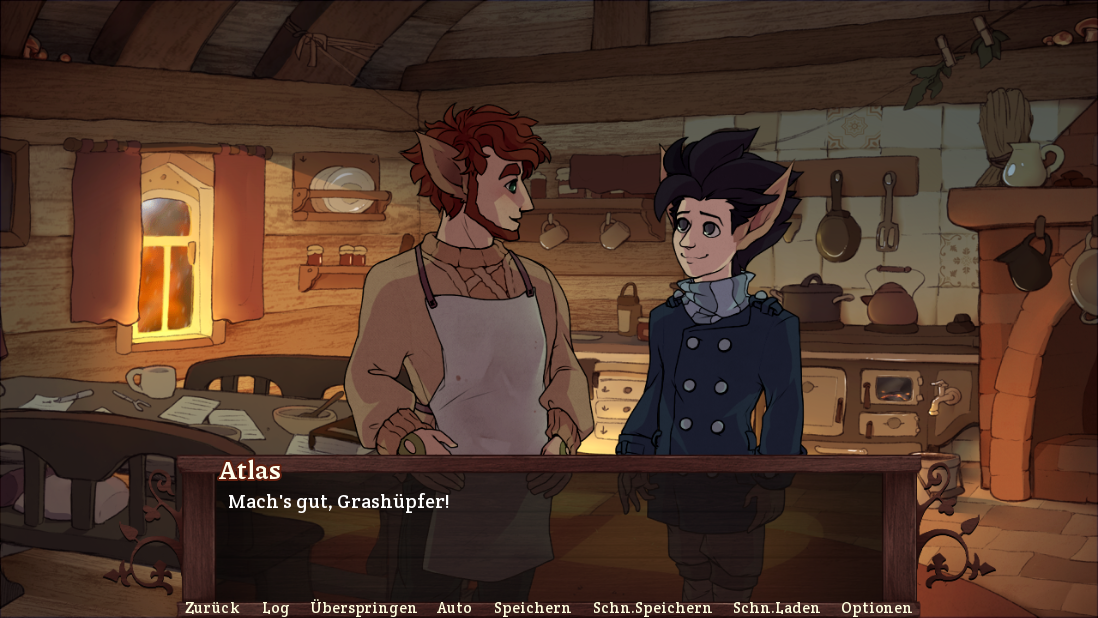
Atlas, on the other hand, is incredibly calm and stable. He's basically a rock. You can't just knock that boy over with a stiff breeze. To emphasize this, I gave him only one body pose (as in, his torso stays the same) and gave him different head angles and arm gestures for more nuanced acting.
Now, we got all our actors at the ready, and we have our stage. What's next? Making them act!
Blocking and Directing
“Blocking” is how I like to call the part of the coding that only deals with the position of the characters. It's the equivalent of telling an actor “For this line, stand here”.
You'd be surprised how much meaning you can already communicate without showing any variations in facial expression! For each scene, I consider where a character is moving, how close together they are, if they are facing each other or maybe the same direction etc., and how this changes over the course of their interaction.
The next step, directing, is when the changing facial expressions come into play. This may just be my favourite part of the VN making process in general, going through each line and telling the characters how to emote. It's incredibly satisfying to see everything come together, and again, the choices you make here impact the way a scene comes across.
CG illustrations
CGs are the fancy cinematographic illustrations that pop up in certain sections of the story. I generally save them for sequences that I can't portray with sprites and backgrounds alone. Don't underestimate the power of a short fade-to-black or fade-to-white though! When in doubt, I save CGs for the beats that I want to have the most emotional impact.
Why make them now? I like having the sprites, backgrounds and character positioning set in stone before I start CGs, mostly for the sake of consistency. After all, the more I know about how the characters look like and what the scene's colour key is, the smoother the transition is going to look!
GUI
The Graphical User Interface is the step that really glues a project together, in my opinion. It's a small thing, but everytime I finish a nice custom main menu screen, I feel like the project is really starting to look like a game.


In the case of Frostwood, this was easy! I could recycle many of the GUI elements from its parent story, Lovewood – buttons, text boxes and sliders – and could therefor spend more time painting a custom background for the main menu and game menu screens. As an aesthetic, I wanted a beautiful wintery snowscape, but also with a hint of melancholy and isolation. I settled on a view of the lonesome cottage in the snowy forest, illuminated by what could be either a sunrise or sunset.
Character movements and transitions
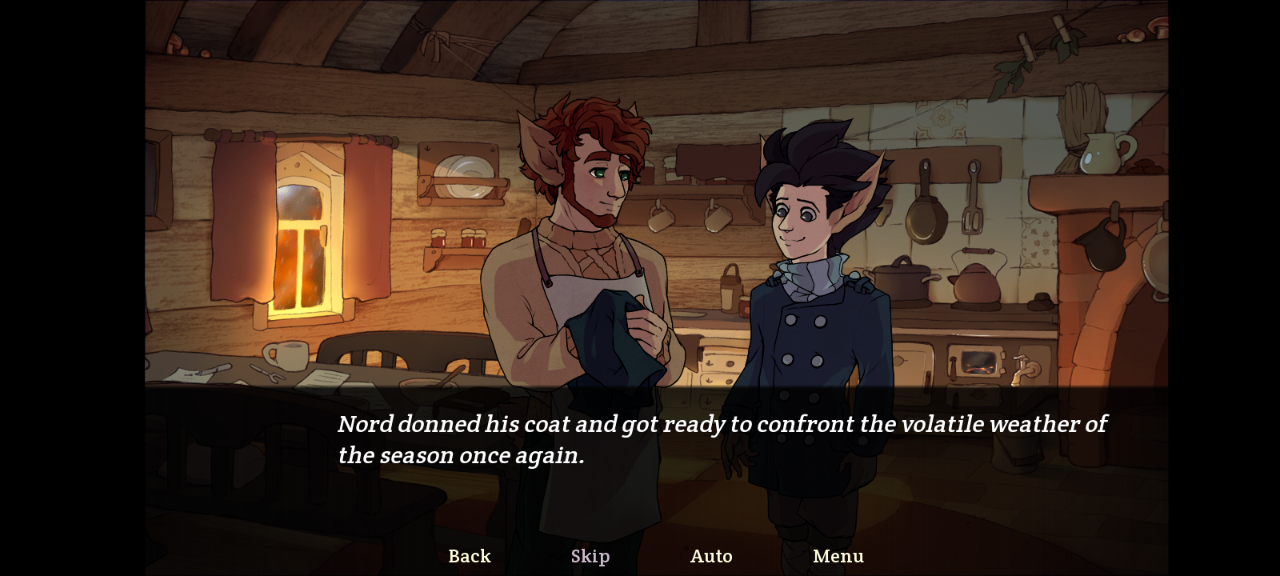
We are getting to the real polishing of the visuals now. I define the movements of the characters from one spot to another (transformations are the proper term, I believe). Even here, creative choices can factor into the character acting: How quickly do they move? Are they energetic or hesitating? For example, when we see Nord zipping about quickly by the end of the story, it's a visual indicator for how much better he feels and that he is finally shaking off his illness.
After this I implement the date transition screens between scenes, as well as small transitions between CGs and so on. Usually these are simple Dissolve transitions to make the cuts less jarring.
Audio: Atmo, SFX, Music
It's time for sound!! I like to divide this into 3 chunks: Atmo sounds, SFX and Music. Let's tackle them one by one.
Atmo is what I consider the underlying, looping ambience of the scene to be. Things like storm, crackling of fire, or faint creaking and shuffling sounds in a room. Even when a scene is supposed to be quiet, I like to have a very very faint ambient loop in the background to help with immersion. For example, there's a really slight icy fizzling sound for the exterior snow scenes, and the aforementioned room ambience makes a quiet place feel less artificial than if it were completely silent.
SFX are all the sounds that only play once and don't loop. Popping open a bottle, shuffling of fabric, swooshing, kissing, footsteps, all of it falls into this category.
Luckily I could reuse a lot of the sound effects that I had collected from previous projects. However, there will always be this one sound that I just can't seem to find, something really specific. In this game, it was the blunt sound of Nord slamming into the side of the house that caused some trouble. I just couldn't seem to find a perfect equivalent in any free-to-use sound database! Here's how I solved it: I took a regular door knocking sound and edited the heck out of it. The resulting noise isn't quite as forceful as I would have liked, but it brings the idea across well enough, and that's what matters.
Finally, music is the emotional backbone that really makes a scene shine. It's honestly a blessing that there are composers out there who are freely offering their music to itty bitty game devs like me. Without these resources, I'm not sure what I'd do!
I find that I get really carried away searching through archives and trying to pick the perfect tracks for each scene, especially during the most important emotional beats. In WTTTI, I spent a lot of time tweaking the music during Nord and Atlas' confrontation and comfort scene so that it flowed just right. Ideally, you shouldn't consciously notice it when you play, but you should feel it!
Accessibility
Accessibility involves features that make the game playable for a larger audience. If you're interested in this subject, I actually wrote a fairly elaborate dev log about different accessibility features in visual novels right here!
For When Trees Turn to Ice, I included audio captions that can be enabled in the Options menu – a useful feature for hearing-impaired players, or those who are simply playing the game muted – and also made Screenshake toggle-able.
Then I ran my usual check to make sure that the text-to-speech feature wasn't stumbling over any of the lines, and to change them if needed. For example, if I wrote “Mh...” in one of the dialogue lines, and the system voice interprets this as a country code and spells out “Marshall Islands”, that calls for a customization. Yes, this happened to me.
Android build
You'd be surprised how many people play VNs on their phones! That's why I generally like to include an Android build, if possible. For this game, it was quite simple, I mainly had to adjust the textbox and text size to be readable on small screens.
Testing & Editing, final polish
This is the exciting and nerve-wrecking step of sharing the project with testers and getting input on anything that may need changing! This includes technical stuff like typos and visual glitches, but also feedback on whether the story beats hit their mark. I recommend getting different folks to playtest your game, because multiple pairs of eyes always see more than one, plus they can bring very diverse opinions to the project.
Translation
Alright, translation technically counts as an accessibility feature as well – But I like to see it as a separate step, because it takes quite long and I always save it for last! Why? Well, for plain technical reasons. The way Renpy handles translations means that if you change something in the original script, be it adding lines or just correcting typos, you will have to run the “Generate translation” step again and you'll most likely have some extra work in the process. So I like to have the entire English script properly locked in before I even think about translating!
I wrote a bit about my experiences with German translation for Invisible Seams in this blog post, and basically all of it applies to WTTTI as well. I'm getting better at taking freedoms with my translation, instead of producing stilted literal translations, and I reckon it results in a pretty natural-sounding story!
Lessons learned
With the final rounds of testing and proofreading done, the game is ready for release! Ready to be thrust upon Itch, and to be experienced by players! Woo!
Every project is a learning experience, frankly, and I do think it's very important to finish things. Even if it doesn't turn out how you wanted, you'll grow from the experience.
Despite WTTTI not being my first VN project, I reckon I took away some useful lessons from it. Here's a summary of some of the things I learned that didn't fit into the rest of the article:
- I was scared, initially, that working on a more serious story with darker emotional themes would drag me down. That I would get too stuck in that headspace and just be sad all the time. Turns out I was totally wrong! Almost immediately, I felt really energized and happy to work on this project, because the joy of having something creative to put effort into outweighed any other concerns.
- A broad concept is best explained through small, highly specific events. This may apply to stories in general: We can make sweeping statements about all of humanity, but the best way for a reader to grasp them, to really emotionally connect to that truth, is to experience it alongside some very specific characters and to empathize with them. In my case, Nord and Atlas surviving a winter in Liebwald was a canvas on which I could explore how people cope with crisis situations.
- I find it more satisfying to create a small project and execute it really thoroughly than to come up with some vast, huge story in which I would have to cut corners or half-ass certain parts.
- Snow looks best when it's painted, not drawn with lineart! Yeah, that one is pretty specific. Took me a bit to figure it out though!
That is all from me! I hope you found this retrospective entertaining, or perhaps learned a thing or two that will help you on your own game dev journey. As for what I'll do next, I don't know! I'm really happy to just improve at my craft and do commissions for now, but I'm certain that the next project idea will pop into my head sooner or later.
Thank you so much for reading, and stay warm out there!
- Dev
Leave a comment
Log in with itch.io to leave a comment.